Winter Process Art Activities
Engaging Children in Winter Process Art Activities
Sledding, snowpeople, and ice skating, oh my! Winter provides children with so many amazing outdoor sensory experiences. But what can you do to keep children active, engaged, and learning when it’s too cold, too wet, or too icy to venture outside and they’re stuck inside? Below are some ideas for incorporating winter themed activities into your repertoire of process art projects.
Snowy Foil Painting
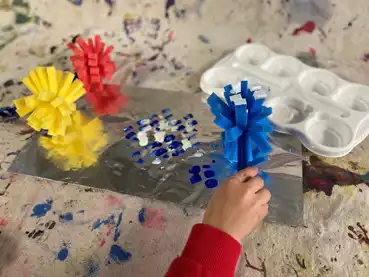
Grab some aluminum foil (heavy duty works the best, if you have it available), several colors of tempera paint (snow related colors, like white and blue), and a variety of brushes. You can cover your whole table in foil or offer smaller pieces to individual children. We really like the idea of covering small pieces of cardboard with foil to use as canvases). Set out containers of paint and your brushes and invite the children to create snowy scenes.
For a really fun extension try adding equal parts shaving cream and glue, along with a few squirts of paint When dry, mix this up and use it to create fluffy, snowy scenes.
Dough Snowpeople with Loose Parts
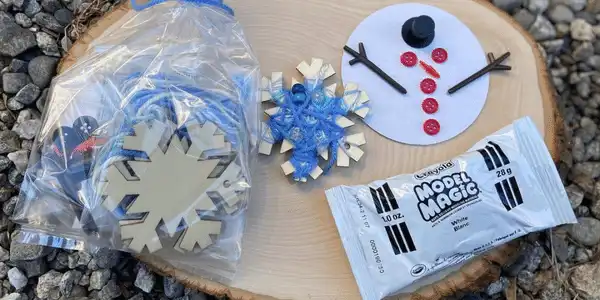
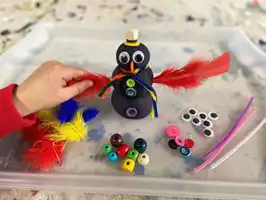
Take out modeling dough or Model Magic, along with a variety of loose parts, such as wiggle eyes, buttons, beads, chenille stems, and feathers. Organize these materials in an inviting way - try sorting them by color, shape, or size, or setting them out in beautiful containers. Talk with children about whether they’ve made snowpeople themselves or have seen ones that others have made. Reading books about winter or bringing in photographs for inspiration add to the excitement. Encourage children to create their own snowpeople using the provided materials. For a fun extension, bring children outside to collect sticks, pine needles, and other natural objects to add to their creations.
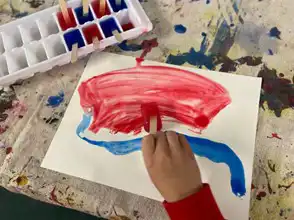
Salty Watercolors
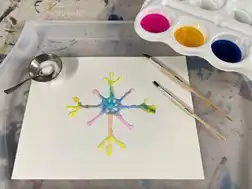
Gather sturdy paper, watercolors, salt, glue, a spoon, and a paintbrush to get started on this activity. Encourage children to create a design on their paper with glue (it can be winter related, like a snowflake, or just lines and designs). Then, have them carefully spoon salt on top of the glue. Shake off the excess salt into a container. Next, show children how to add paint to their brushes and lightly touch these loaded brushes to the salt lines. As the paint touches the salt and glue combination, watch as colors expand and flow along the lines. What a cool experience!
Frozen Painting
Find an old ice cube tray, muffin tin, or paint tray and fill the compartments with water and a big squirt of paint. Stir the water and paint together and add a craft stick to each compartment. Make sure the craft sticks are sticking out because they will later be used as handles. Let the paint and water freeze overnight (in the freezer or outside if it’s cold enough). Set out paper and the frozen paint pops. These can stay in the trays, although loosen them up before setting them out for children.
Show children how to hold onto the craft stick handles and glide the frozen paints across their papers. What happens as the paint pops melt? How is this different from painting with regular paint? Which do children prefer? Why?
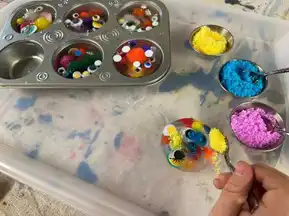
Funny Frozen Creatures
Set out muffin tins (or another similar container), wiggle eyes, pom poms, and any other loose parts (like buttons, beads, chenille stems cut into small pieces).
Have children place these pieces inside each compartment of the container (or a caregiver can do it ahead of time), then fill the trays with water, and freeze overnight.
For the next part, put a few cups of salt in a zippered plastic bag and add a few squeezes of liquid watercolors. Shake the plastic bag (make sure it’s zippered shut tightly!) until all of the salt is coated in color. You can choose to make only one color of salt or make multiple bags of all different colors. We like to use colors that complement each other to make the activity more inviting.
Once the funny creatures are frozen, place them in a sensory bin, along with containers of the colored salt, and some spoons. Children can spoon salt onto the frozen creatures and observe what happens while they melt. Which piece will come free from the frozen creation first, a wiggly eye, a pom pom? Why does the salt make the ice creatures melt more quickly?
Favorite Winter Books
Here are some of our favorite winter books for inspiration:
- “The Snowy Day” by Ezra Jack Keats
- “Snowmen at Night” by Caralyn Buehner and Mark Buehner
- “The Mitten” by Jan Brett
- “Over and Under the Snow” by Kate Messner “Sneezy the Snowman” by Maureen Wright
We hope these wintry ideas bring some joy to your classroom or home! Happy creating!

Rachel Miller and Nicole Werther are both experienced early childhood educators with Masters’ degrees and over 20 years of combined teaching experience. Together they own the small business, Backyartists, which curates process art and sensory play materials and kits for young children. They also offer playgroups and classes in the Boston area. Check out their website, www.backyartists.com, for the most up to date offerings.